AI Headshot Generator From Photo: A Realistic Workflow
Choose the right source photo, style, crop, and identity checks to create an AI headshot that looks polished without looking like someone else.

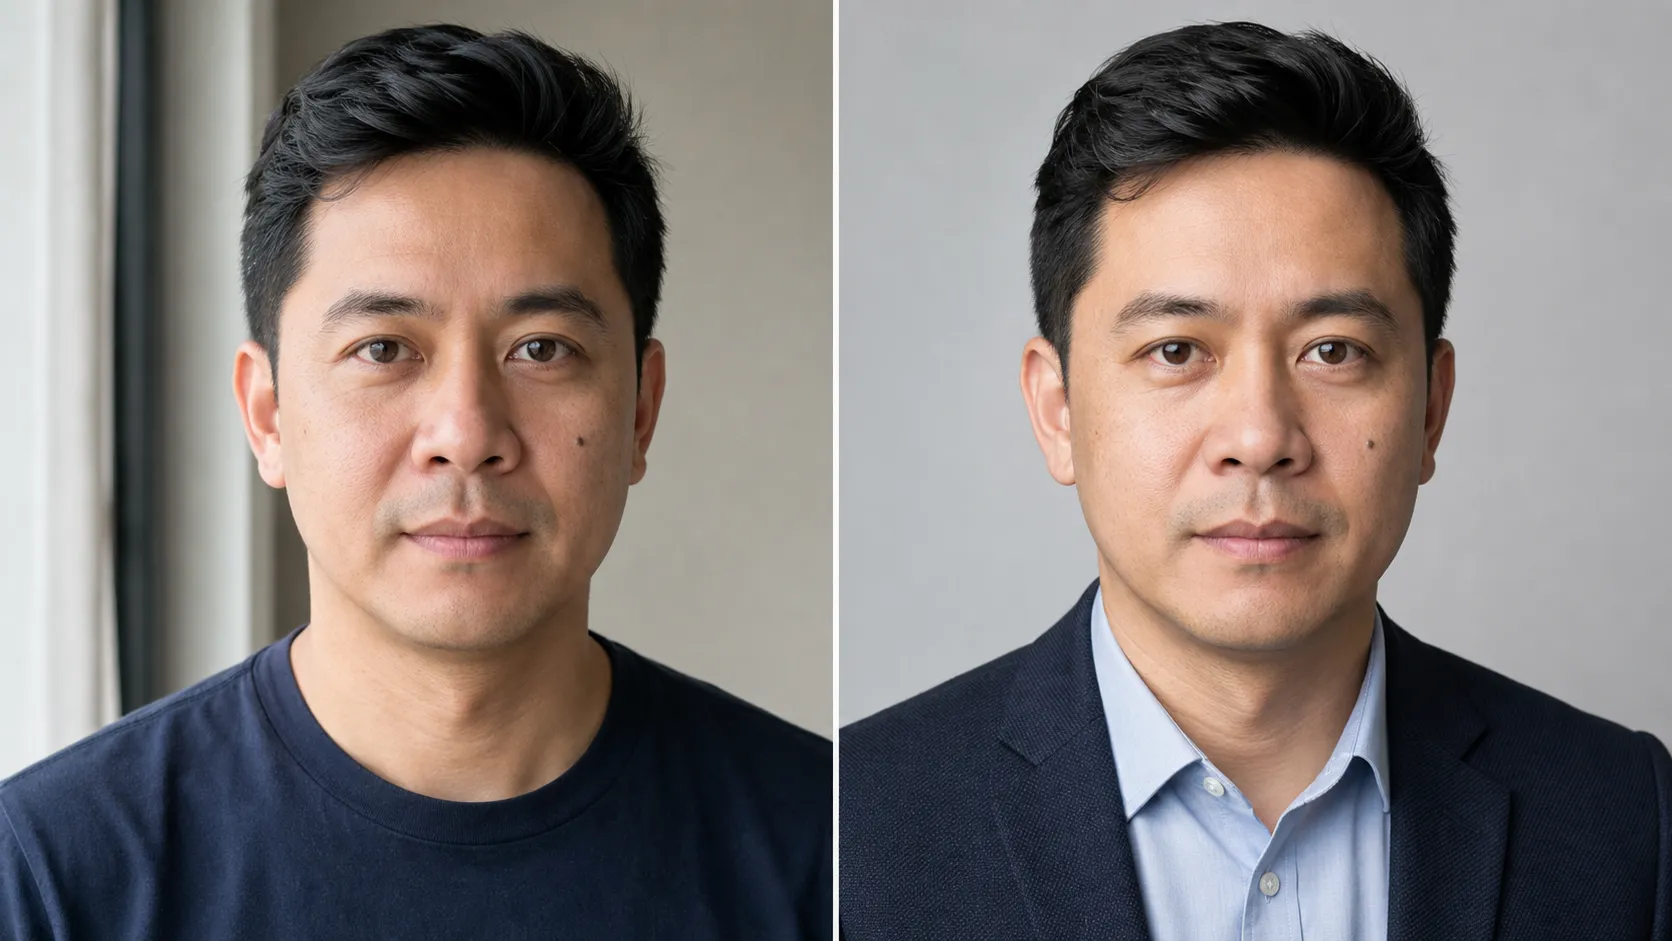
If an AI headshot looks impressive but does not quite look like you, the failure probably began before generation. A flattering studio background cannot recover facial detail that was hidden by blur, a beauty filter, harsh shadow, or an extreme selfie angle.
The most reliable workflow is conservative: start with a recent, recognizable photo; change one visual layer at a time; and reject any result that improves the lighting by quietly changing your identity.
That standard matters for professional profiles. LinkedIn says a profile photo must reflect your likeness, and its official photography guidance recommends a recent, high-resolution solo image in soft light, cropped so the face fills much of the frame. An AI headshot should meet the same test: someone who knows you should recognize you immediately.
Pass the 30-second source-photo test
Before uploading a photo, enlarge it until the face fills your screen. Then check six things:
- Both eyes are visible and in focus.
- The face is large enough to show real detail, not reconstructed pixels.
- Light reaches both sides of the face without erasing its shape.
- Hairline, jawline, and distinguishing features are unobstructed.
- The image contains one person, with no cropped hand or shoulder from someone else.
- The photo reflects how you look now, including glasses, facial hair, and hairstyle.
A plain phone photo can pass this test. An expensive portrait can fail it if the focus landed on the background or heavy retouching changed the face.
Resolution helps, but pixel count is not the whole story. A large image can still contain motion blur, compression artifacts, or fake detail from an earlier upscaling pass. Look at the eyes and eyelashes at full size. If they dissolve into blocks or painted-looking strokes, take a new photo instead of trying to repair the file.
Once you have a clear source, you can turn that source into a professional, corporate, casual, creative, white-background, or anonymous portrait. The style can change; the person should not.
Take a better source photo in five minutes
You do not need a studio. Stand about an arm's length from a plain wall, but leave enough space behind you to avoid a hard wall shadow. Face a large window without direct sun. A bright overcast sky or window light produces softer transitions than a bare ceiling bulb.
Ask another person to use the rear camera on your phone if possible. Hold the camera near eye level and step back rather than pushing a wide-angle phone camera close to your face. A very close selfie can enlarge the nose, narrow the ears, and turn perspective distortion into part of the reference.
Frame from the upper chest to a little above the head. Leave room around the hair and shoulders. The final profile crop can be tighter, but the generator benefits from seeing the full outline of the head, neck, and upper body.
Take several frames with small changes:
- Face the camera directly with a neutral expression.
- Turn five to ten degrees and use a slight natural smile.
- Keep the same angle but move closer to the window.
- Remove reflective glasses for one frame if glare hides the eyes, then take another wearing them.
Do not change outfit, location, expression, and camera angle all at once. The purpose is to find the clearest identity reference, not to conduct the whole photo shoot before the AI step.
Avoid source photos that make the model guess
Some inputs force the generator to invent information. The invention may look plausible, but plausibility is not identity.
Group-photo crops
Even if you crop out everyone else, a remaining arm, hair strand, or shoulder can be interpreted as part of the subject. The face is also often too small. Use a solo photo whenever possible.
Screenshots and photos of printed photos
These add an extra layer of scaling, sharpening, glare, or display pixels. Find the original file or take a fresh picture.
Beauty-filter selfies
A filter can enlarge eyes, narrow the jaw, smooth away skin texture, or reshape the nose before the generator sees the face. The result may preserve the filter more faithfully than it preserves you.
Strong sunglasses, hair, or shadow across the face
If an important feature is hidden, the system has to infer it. Use another frame where the eyes and facial outline are clear.
Dramatic side profiles
A side profile is useful as supporting evidence in a multi-photo workflow, but it is a weak sole reference for a front-facing headshot. Start with a direct or mild three-quarter view.
Very old photos
Professional does not mean timeless. If your hair, glasses, facial hair, or face has changed, use a current reference. LinkedIn's own guidance makes the same practical point: the person in the profile photo should look like the person someone would meet now.
Match the style to the destination
The safest style is not always the most formal one. Choose the smallest transformation that fits where the photo will appear.
| Destination | Useful starting style | What to protect |
|---|---|---|
| LinkedIn or resume | Professional headshot | Recognizable face, natural expression, restrained wardrobe |
| Company leadership page | Corporate portrait | Consistent framing and background across the team |
| Consultant or personal site | Casual lifestyle | Approachability without a distracting environment |
| Designer or creator profile | Creative studio | Identity and skin tone under stronger color and contrast |
| Staff directory | Clean white background | Clear outline, even light, uncomplicated crop |
| Community account | Anonymous, faceless portrait | Hair, clothing, and silhouette without identifiable facial detail |
Start with the professional or clean-background option when you are unsure. A complex lighting scheme, a dramatic wardrobe change, and a new camera angle create more opportunities for drift. You can always explore a bolder variation after confirming that a conservative result works.
For a team page, agree on the framing before generating anything: similar head size, eye-line height, background tone, and wardrobe formality matter more than giving everyone identical clothes. Consistency should make the page coherent, not make people look cloned.
Treat identity as a pass-or-fail requirement
Identity preservation is still an active research problem, not a solved checkbox. Recent portrait-generation research evaluates details such as facial shape and local features precisely because a result can be photorealistic while representing the wrong person. The HiFi-Portrait paper presented at CVPR 2025 is one example of work focused specifically on that gap.
Place the source and generated headshot side by side at the same size. Align the eyes, then compare:
- Overall face width and length
- Distance and shape of the eyes
- Nose bridge, width, and tip
- Lip shape and resting expression
- Hairline and hair color
- Jawline and chin
- Apparent age and skin tone
- Freckles, moles, scars, dimples, or other distinctive features
Do not ask only, “Does this look good?” Ask, “Which details prove this is me?”
Reject a result if the eyes are more symmetrical but unfamiliar, the jaw has been narrowed, the skin tone has shifted, or age lines have disappeared. These are not harmless polish when recognition is the purpose of the image.
Generate controlled variations, not a random batch
A large batch of unrelated styles makes comparison harder. Generate two or three images using the same source and one preset. Pick the most faithful result, then change one thing—such as moving from a light professional background to a darker corporate setting.
This creates a simple decision trail:
- Confirm the source photo passes the identity test.
- Generate a conservative professional version.
- Compare it with the source at equal size.
- Keep the most faithful result as the baseline.
- Explore one alternative style.
- Compare the alternative with both the source and baseline.
If every result changes your face in a similar way, switch the source photo. Repeating the same weak input is unlikely to reveal information the model never received.
If only one style causes drift, keep the source and reduce the transformation. A new wardrobe, background, lighting setup, and expression in a single step may simply be too much change for that image.
Check the final crop where people will see it
A headshot can look balanced as a rectangle and awkward inside a circular profile frame.
Export a square version and preview it as a small circle. Keep the eyes slightly above center, preserve the top of the hair, and make sure neither shoulder creates a strange tangent with the edge. LinkedIn's photography guide recommends a crop from the top of the shoulders to just above the head, with the face occupying roughly 60% of the image.
Then reduce the preview to about the size it will appear beside a post or comment. At that scale, subtle background details disappear. Eye contact, silhouette, contrast, and expression do most of the work.
Keep a higher-resolution master for future crops, but do not use upscaling to rescue an identity mismatch. More pixels can sharpen an image; they cannot turn the wrong jaw or eye shape back into yours.
Know when to use a real photograph
An AI headshot is useful when you have a clear source photo but need more controlled lighting, a simpler background, a coherent team style, or a privacy-friendly variation.
Use a real photograph when exact documentation matters, when every generation changes a distinctive feature, or when the result would create a misleading impression of your current appearance. A professional profile does not require artificial perfection. It requires credible recognition.
That boundary is especially important on LinkedIn. Its linked profile-photo rules permit artistic renderings, but the image still has to reflect the member's likeness. A generated portrait that looks polished yet depicts a different person misses the purpose of the profile photo.
FAQ
What is the best photo for an AI headshot generator?
Use a recent, sharp solo portrait taken near eye level in soft, even light. Both eyes, the facial outline, hairline, and distinguishing features should be visible, with no beauty filter or extreme wide-angle distortion.
Can I use a selfie to make an AI professional headshot?
Yes, if the selfie is sharp, naturally lit, and taken far enough away to avoid perspective distortion. A rear-camera photo taken by another person usually provides a more neutral starting point.
Should I smile in an AI LinkedIn headshot?
Use an expression that feels recognizable and appropriate for your work. A slight natural smile is a safe starting point, but a forced smile is less credible than a relaxed neutral expression.
Can an AI headshot change my clothes and background?
It can generate a different professional setting and wardrobe treatment, but every additional change creates another opportunity for visual inconsistency. Start conservatively and verify the face before exploring more dramatic styles.
How do I know whether an AI headshot still looks like me?
Compare it with the source at the same size. Check facial proportions, eyes, nose, lips, hairline, jaw, age, skin tone, and distinctive marks. Ask someone who knows you to review the image without showing them your preferred answer.
Is an AI-generated headshot acceptable on LinkedIn?
LinkedIn allows illustrations and artistic renderings, but its official guidelines say the profile photo must reflect your likeness. The practical test is recognition: the image should represent how you actually look, not a more convenient fictional person.
Try it
Run your own prompt in the generator
Pick a model, run one prompt, and compare the results side by side. New accounts start with free credits.
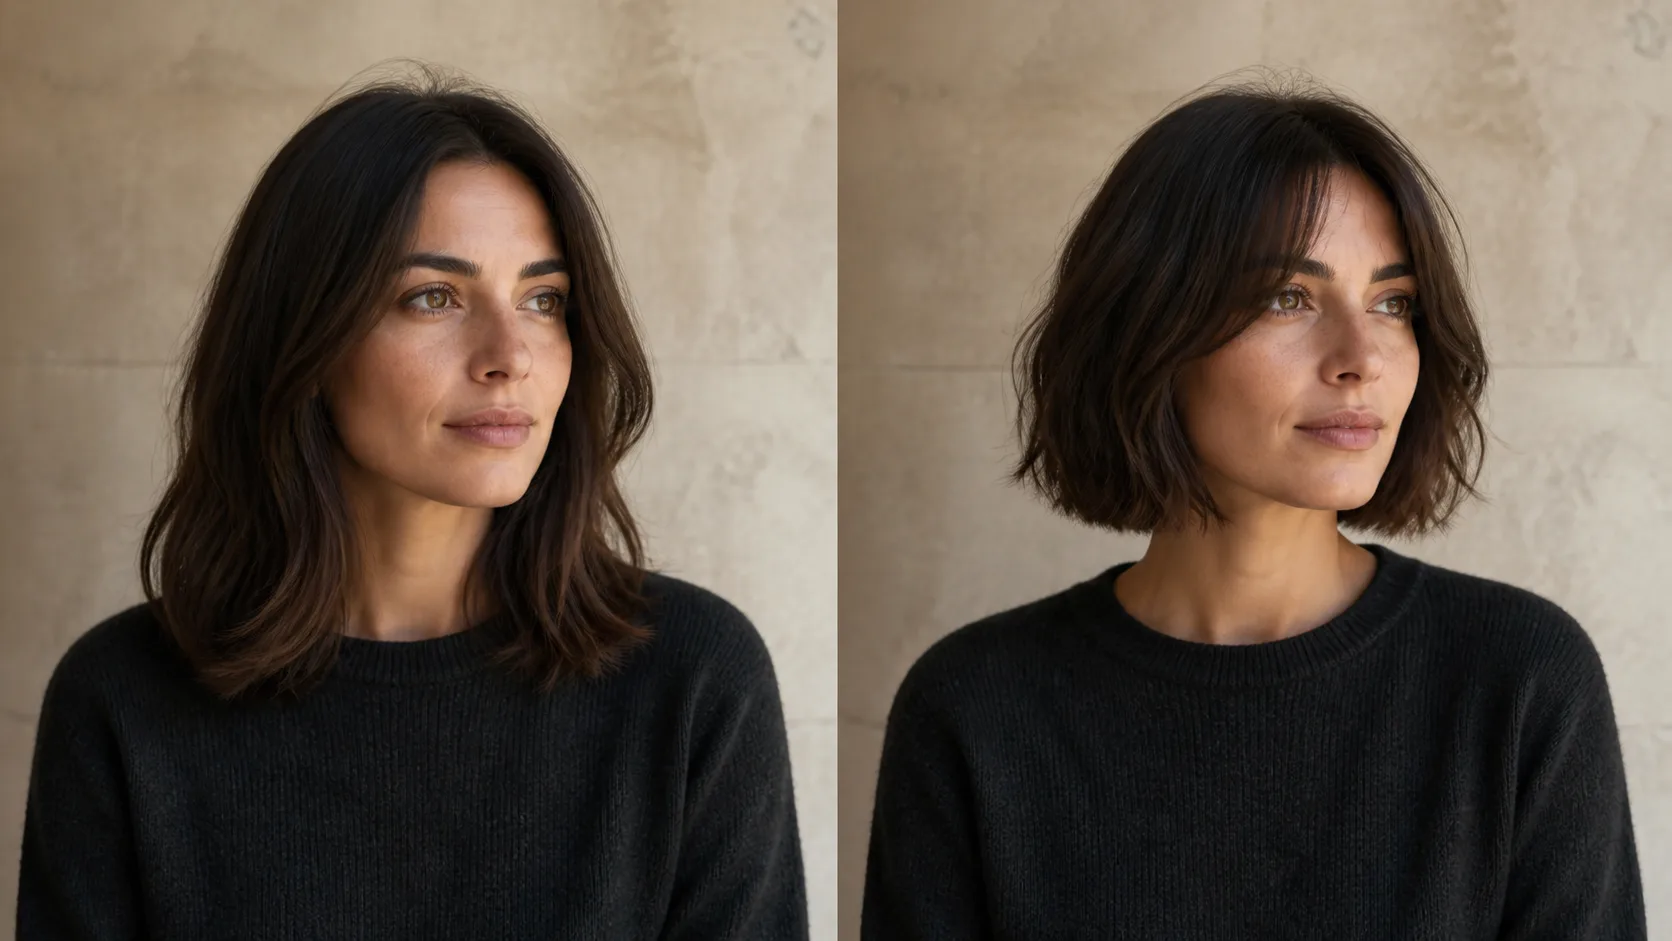
How to Preview a Haircut With AI Before You Commit
Learn how to preview a haircut with AI using better photos, precise prompts, reference images, and a realism check before visiting the salon.
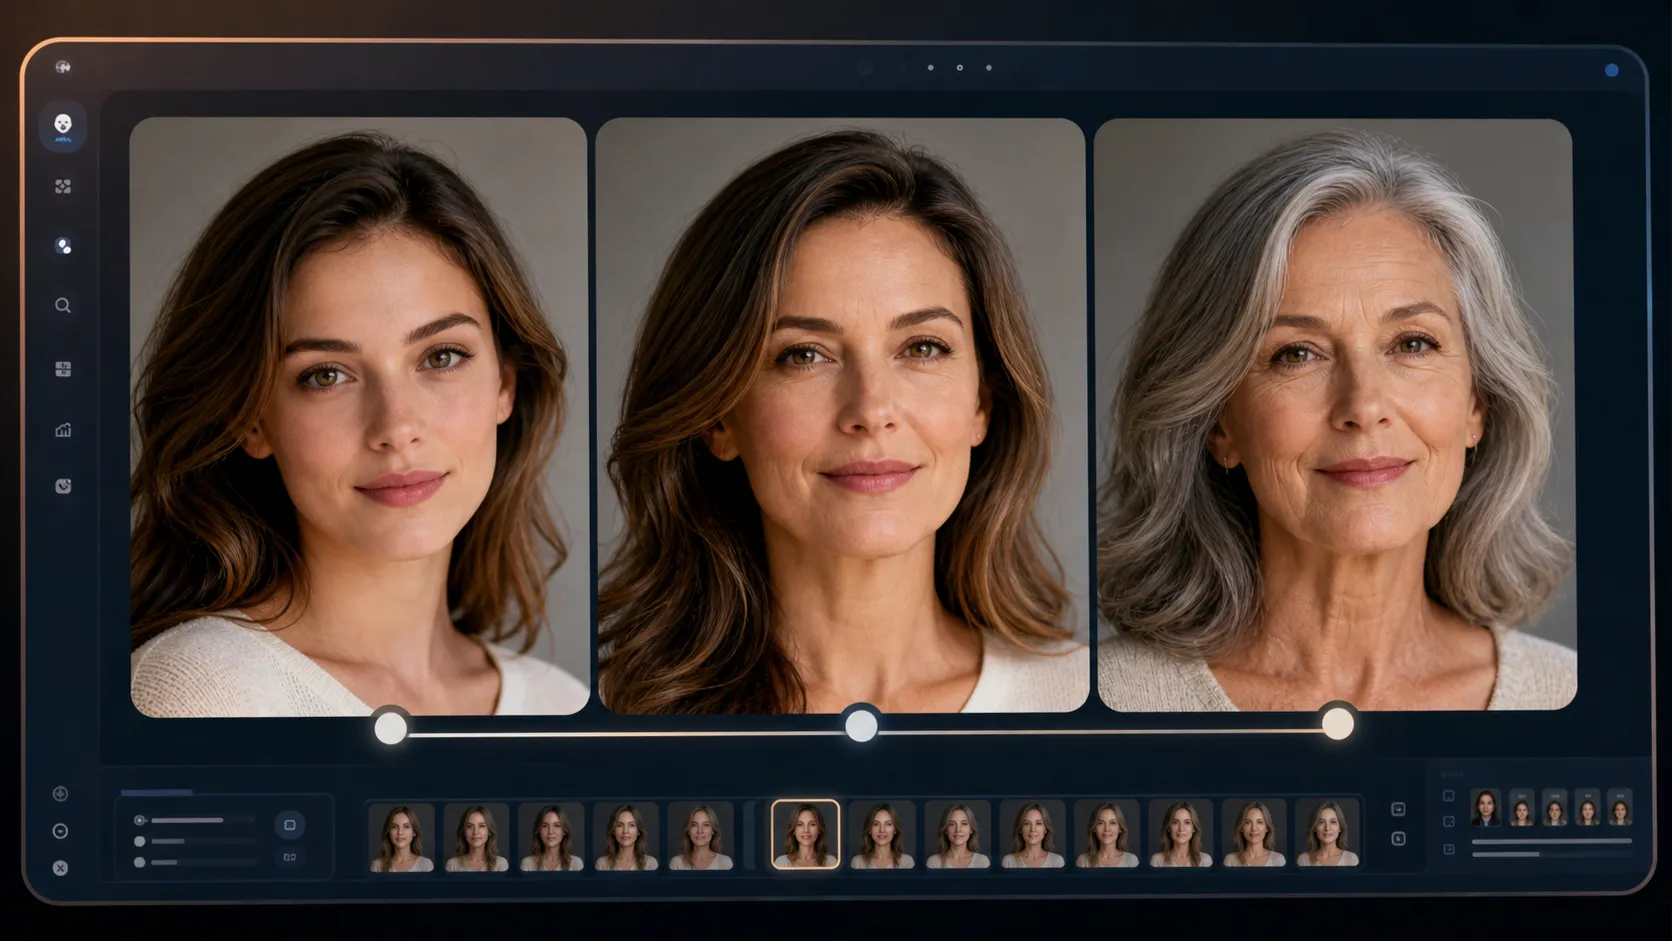
AI Age Progression Guide: See Yourself Older or Younger
Learn how AI age progression works, what photo to upload, and how to create realistic older, younger, baby, or life-stage portraits.