GPT Image 2.5 Flare vs Sunburst: Product Photo Edits Tested
We compare Flare, Sunburst and GPT Image 2 across 18 product-photo edits: label fidelity, material changes, editing speed and current site credits.

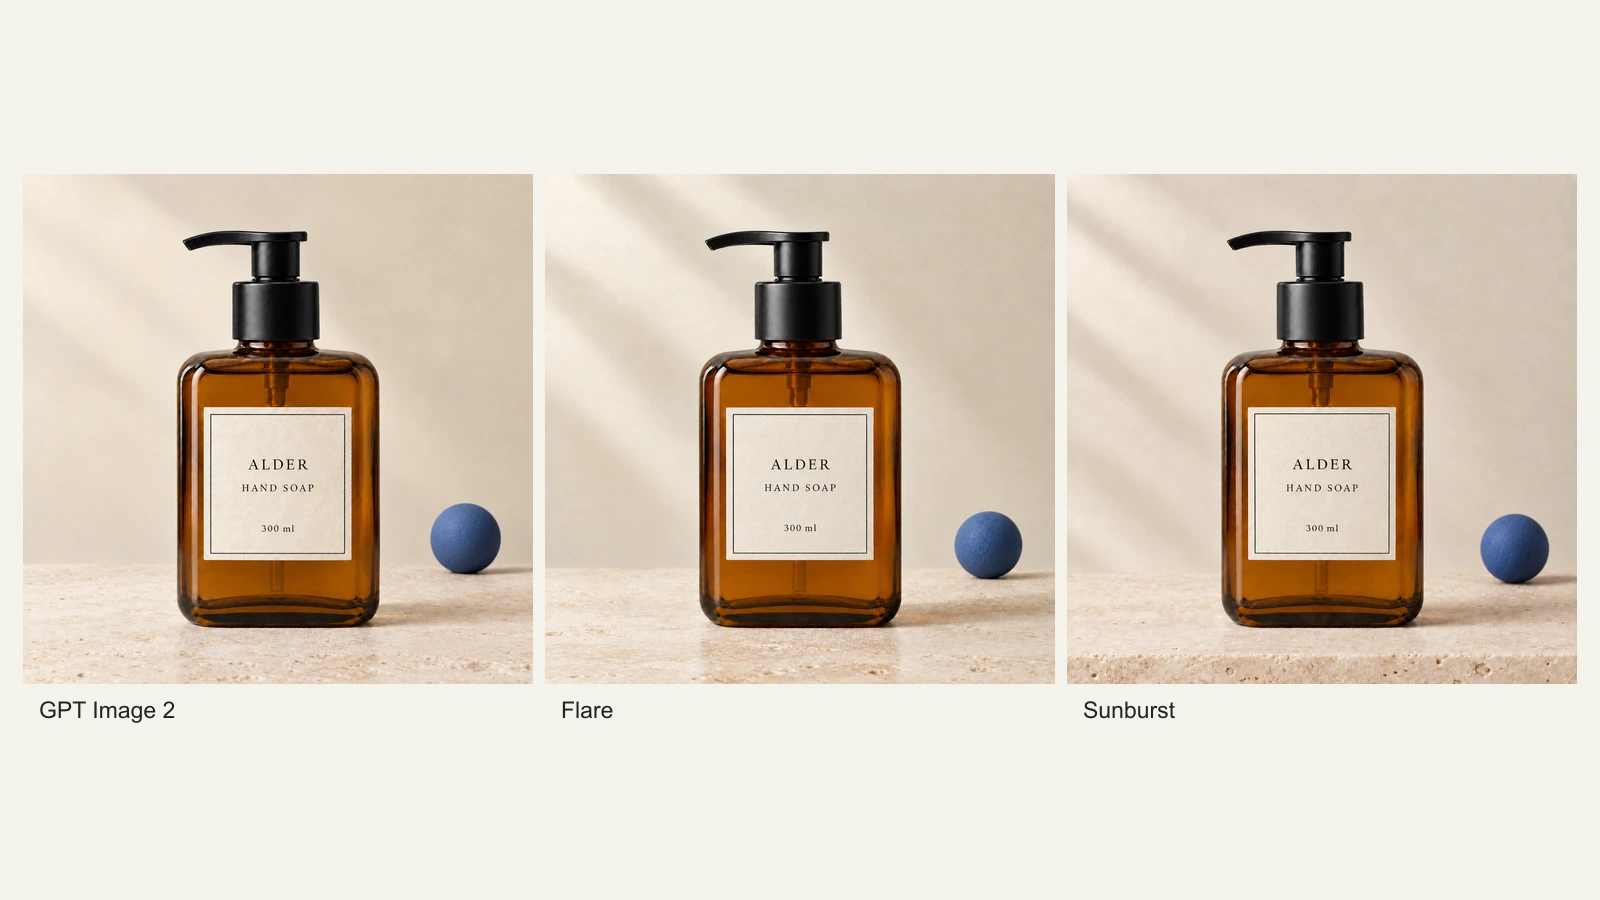
Across 18 consecutive product-photo edits, Flare and Sunburst preserved readable labels but did not show a clear overall advantage over GPT Image 2. All three changed some material details. Here are the actual image sequences, observed completion times and site credit costs to help you choose a starting point.
What we tested
A background replacement can look convincing while quietly changing the product. That matters more than a pretty scene when the label, zipper or material has to match what a customer receives.
We compared GPT Image 2.5 Flare vs Sunburst, with GPT Image 2 as a lower-credit baseline, in a small controlled editing exercise on September 15, 2026. Each model edited two product images through three consecutive changes: 18 edited outputs, plus two separately generated references.
The references are synthetic products, not photographs of merchandise we sell: an amber soap bottle labeled “ALDER / HAND SOAP / 300 ml” and an olive canvas camera bag labeled “NORTH FIELD.” We generated both once with GPT Image 2, inspected them, and gave every model the same reference for its first edit. Using a GPT Image 2 reference may favor its visual conventions; this is one limitation of the comparison.
We used the real KIE API with the corresponding model identifiers, a requested 1K resolution, a 1:1 ratio and one reference image per request. This tests the provider's outputs. It does not measure the complete createimg.ai website journey, account credit deductions or OpenAI's direct API. The provider controls settings that this interface does not expose, so matching resolution does not establish equal compute or internal quality settings.
For each product, the three instructions were:
- Replace the gray studio background and tabletop with a warm cream wall and pale travertine surface. Keep the light direction and add no props.
- Add one small matte terracotta sphere in the empty space behind and to the right of the product.
- Change only that sphere to muted cobalt blue, preserving its size and position.
Every prompt also named the details to preserve. For the bottle, these included the pump direction, amber glass, label border and all three text lines. For the bag, they included the canvas, stitching, patch lettering, two top zipper pulls, side tabs and strap position.
Step 2 used each model's own Step 1 output; Step 3 used its Step 2 output. Later inputs therefore differ between models. This is a test of cumulative editing drift, not three independent edits from the original. Original output bytes were used as the next input; the WebP images below are display copies. We kept the first returned image at each step and did not reroll a visually disappointing result.
Bottle: label and glass preservation
All three models completed the visible sequence: cream-and-stone setting, one terracotta sphere, then a blue sphere. In all nine bottle outputs, we could still read “ALDER,” “HAND SOAP” and “300 ml.” The pump remained left-facing, the label border stayed intact, and the bottle kept its recognizable silhouette. This fixture did not establish a clear Flare-versus-Sunburst winner.
The detail worth inspecting is the surface. By the later edits, the cream label had a more pronounced fibrous pattern than the original, and the glass highlights and amber appearance had shifted. The changes were small relative to the scene replacement, but they were not literally “only change the sphere.” Readable text and recognizable geometry are weaker claims than exact material preservation.
Columns read 0 → 1 → 2 → 3: reference, new background, terracotta sphere, blue sphere. Rows identify the model. Compare the label border, spacing around “300 ml,” pump silhouette and glass highlights as well as the requested scene change.
Bag: stitching, hardware and material
In all nine bag outputs, “NORTH FIELD” remained readable, and the two top zipper pulls, side tabs, front pocket and strap buckle stayed recognizable. The weakness was the canvas: its fine weave became a more wavy or swirled pattern through successive edits, with changes to piping and seam appearance. We saw this in the later Flare images and the final Sunburst and GPT Image 2 images, so there was no dependable material-preservation winner.
The added sphere was crowded against the right edge. This reference leaves little empty space beside the bag; for a real composition, start with enough space for the prop instead of expecting an editor to fit it into a tight crop.
The same column order applies. Look at the two top zipper pulls, the front pocket outline, the “NORTH FIELD” patch and the foreground strap buckle. A plausible new bag is not necessarily an accurate edit of this bag.
Speed and credits answer different questions
These times run from provider task creation to completion, including queue time. Each model has six observations; requests were made sequentially. Flare was not the fastest by median in this run. The small sample and changing queue conditions do not establish a general speed ranking.
| Model | Median completion | Observed range |
|---|---|---|
| GPT Image 2 | 80.3 s | 69.9–90.9 s |
| GPT Image 2.5 Flare | 89.7 s | 66.9–125.9 s |
| GPT Image 2.5 Sunburst | 80.9 s | 78.0–168.1 s |
Full prompts, original outputs and task records.
The following are createimg.ai's regular displayed credits per image, checked September 15, 2026. They are not KIE charges measured in this experiment and not OpenAI API prices.
| Model | 1K | 2K | 4K | Three edits at 1K |
|---|---|---|---|---|
| GPT Image 2 | 30 | 50 | 80 | 90 |
| GPT Image 2.5 Flare | 60 | 100 | 160 | 180 |
| GPT Image 2.5 Sunburst | 60 | 100 | 160 | 180 |
For the two newer models, the current paid-account offer displays 48–54 credits at 1K, depending on purchase or subscription status; free accounts use the regular price. Offers can change, so use the quote shown for your account before submitting. The 18-edit plan would total 900 regular website credits, excluding the two source generations, if performed under those regular rates. We did not debit a website account to run this test.
A more useful buying question is how many attempts you need before the product is accurate enough to use. This experiment keeps only one attempt per condition, so it cannot estimate your typical acceptance rate or cost per usable asset.
Choosing a model for your own product
For background and prop changes like these, start with the lower-credit GPT Image 2 baseline and compare your hardest product detail before spending more. This sample does not establish a consistent quality advantage for either 2.5 model. If exact fabric or packaging fidelity is essential, keep the original product pixels and composite a new background in an editor; none of these results deserves automatic approval.
OpenAI describes Flare as oriented toward fast everyday image work and Sunburst toward more precise image work. Those descriptions are a starting point, not proof that one will preserve your packaging better. Our sample has two products and one chain per model, with no repeated trials, blinded human panel or mask-based pixel comparison. Treat the images as worked examples, not a universal model ranking.
For a real catalog, test your hardest detail before scaling up. That might be an embossed logo, a tiny ingredient line, a mesh weave or a transparent lid. Reject an otherwise attractive image if that detail changes. Our fictional labels are short and clear; passing them would not establish reliability on dense packaging text.
A repeatable product-photo editing workflow
Start with a sharp reference showing the whole product and its actual color. A generated reference is useful for this comparison, but a photograph of the item is the appropriate anchor for a real product listing. Avoid a source with clipped edges, unreadable labels or a strap hidden behind an object: an editor must invent anything it cannot see.
In the image-to-image editor with Flare selected, upload the reference, choose a supported aspect ratio, and make one narrowly defined change. Sunburst uses the same editing entry point. For this comparison we used the square 1K option. The current interface does not provide the mask, transparency or quality controls of every other image API; our workflow does not depend on them.
Here is the exact first-step prompt used for the bottle:
Edit this exact image. Replace only the plain gray background and tabletop with a pale warm cream studio wall and a pale travertine stone tabletop. Keep the soft light coming from upper left and a believable contact shadow. Do not add props. Preserve the bottle geometry, pump shape and left-facing direction, amber glass, cream label, thin black border, and exact text "ALDER", "HAND SOAP", "300 ml". Preserve the bottle position, camera viewpoint, crop and relative size. Keep every other detail and all earlier requested changes. No new text, watermarks, extra props, recropping, or redesign.
For your own product, replace the identity details with what is actually visible. “Keep the product unchanged” is useful, but naming the three or four details that would invalidate the image gives you a much clearer inspection checklist.
Review the result at full size before making the next edit. Check geometry and text first, then material, then the scene. If the product already drifted, return to the original reference and rewrite the request rather than using the defective edit as the next source. Our test deliberately continued each chain so that drift would remain visible; that is not a recommendation to accumulate known errors in production.
Save a clean approved version at each step. For a final ad, compare the last output directly with the original photograph, not just with the previous iteration. Consecutive small changes can become hard to notice when your only reference is yesterday's edited image.
For lighting and realism issues beyond model choice, see how to make AI product photos look real. The practical decision is whether the edit still represents your exact item after the scene improves.
Try it
Run your own prompt in the generator
Pick a model, run one prompt, and compare the results side by side. New accounts start with free credits.
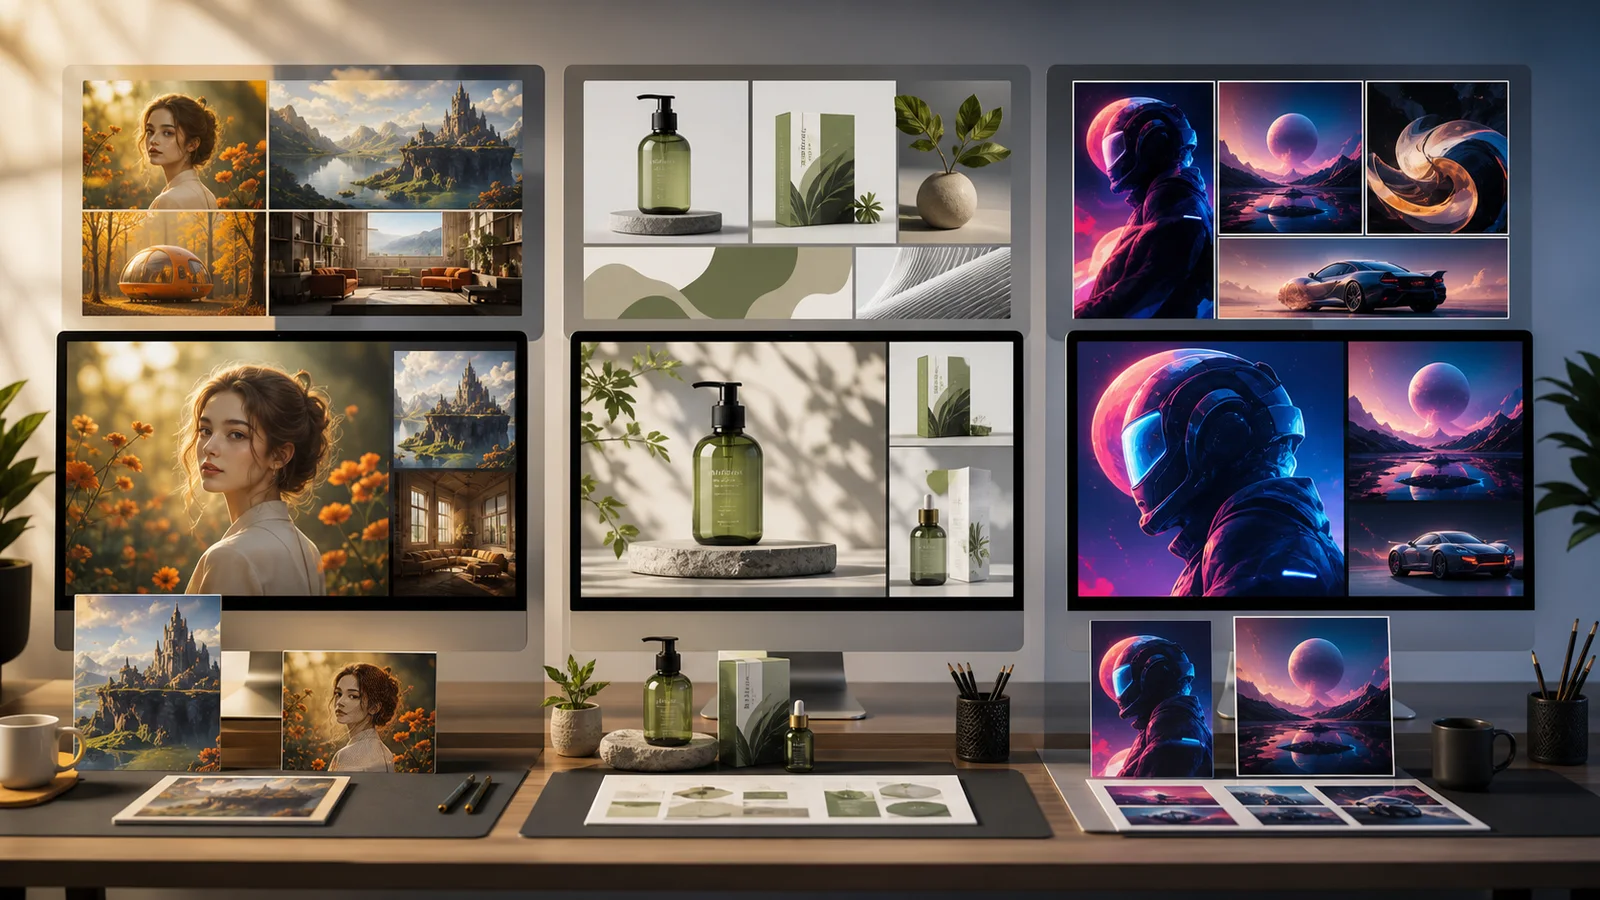
GPT Image 2 vs Nano Banana Pro and Nano Banana 2
Compare GPT Image 2, Nano Banana Pro, and Nano Banana 2 for text, realism, edits, speed, references, and creative workflows.
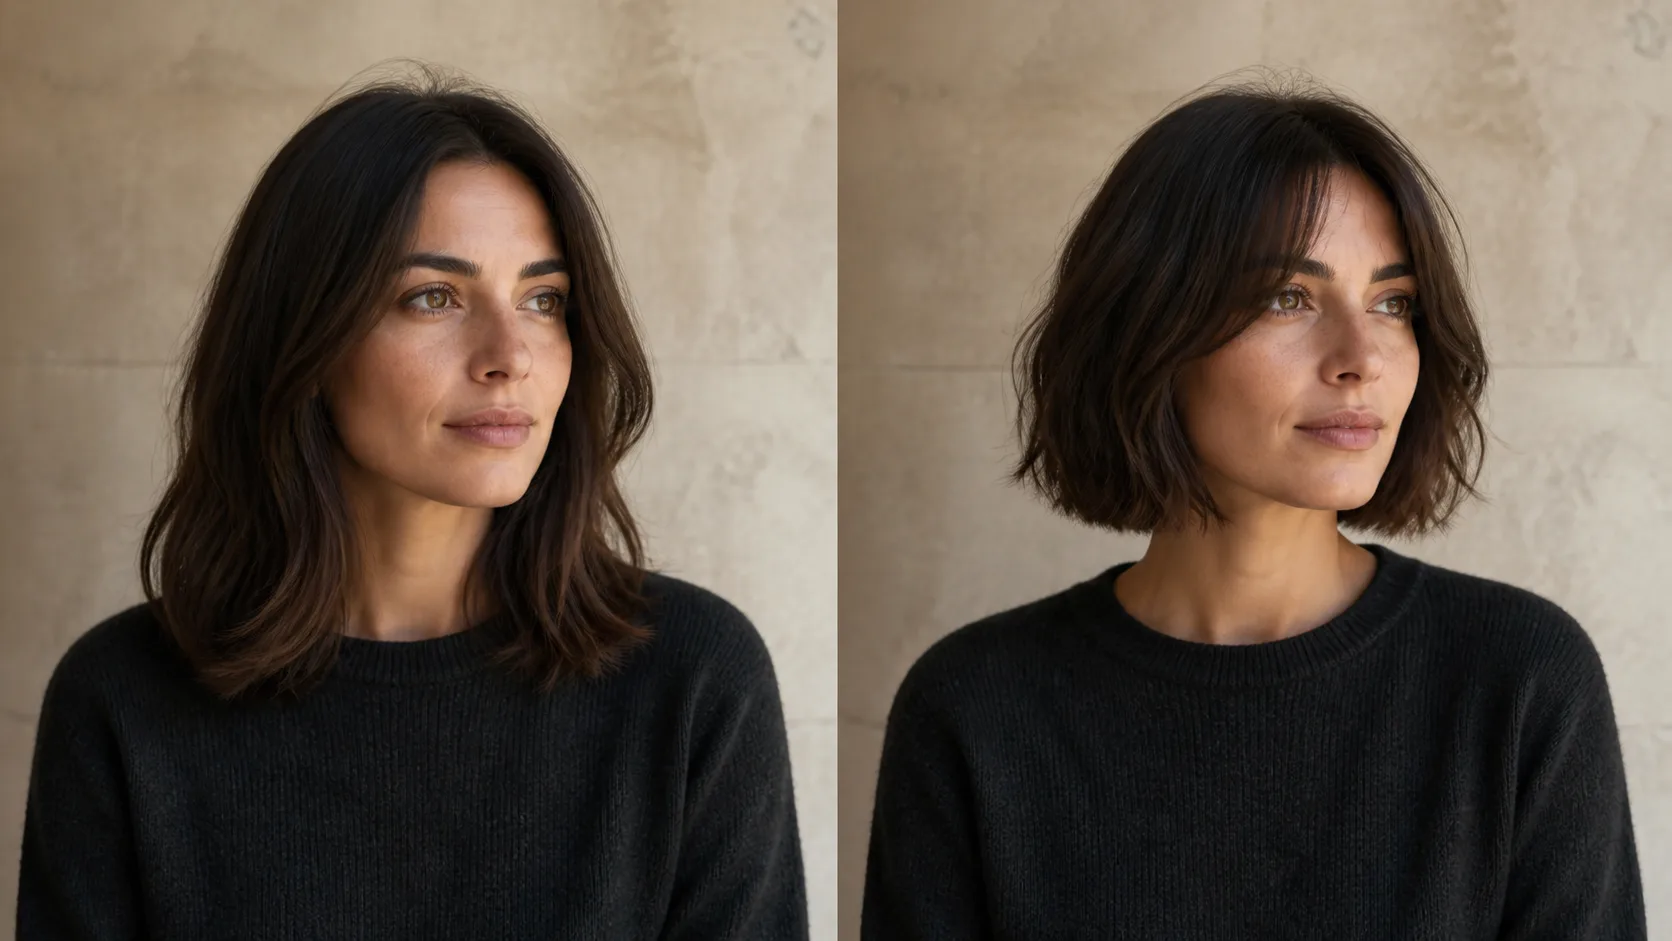
How to Preview a Haircut With AI Before You Commit
Learn how to preview a haircut with AI using better photos, precise prompts, reference images, and a realism check before visiting the salon.